Sending a Reusable Template
Navigate to your DocHuc dashboard.
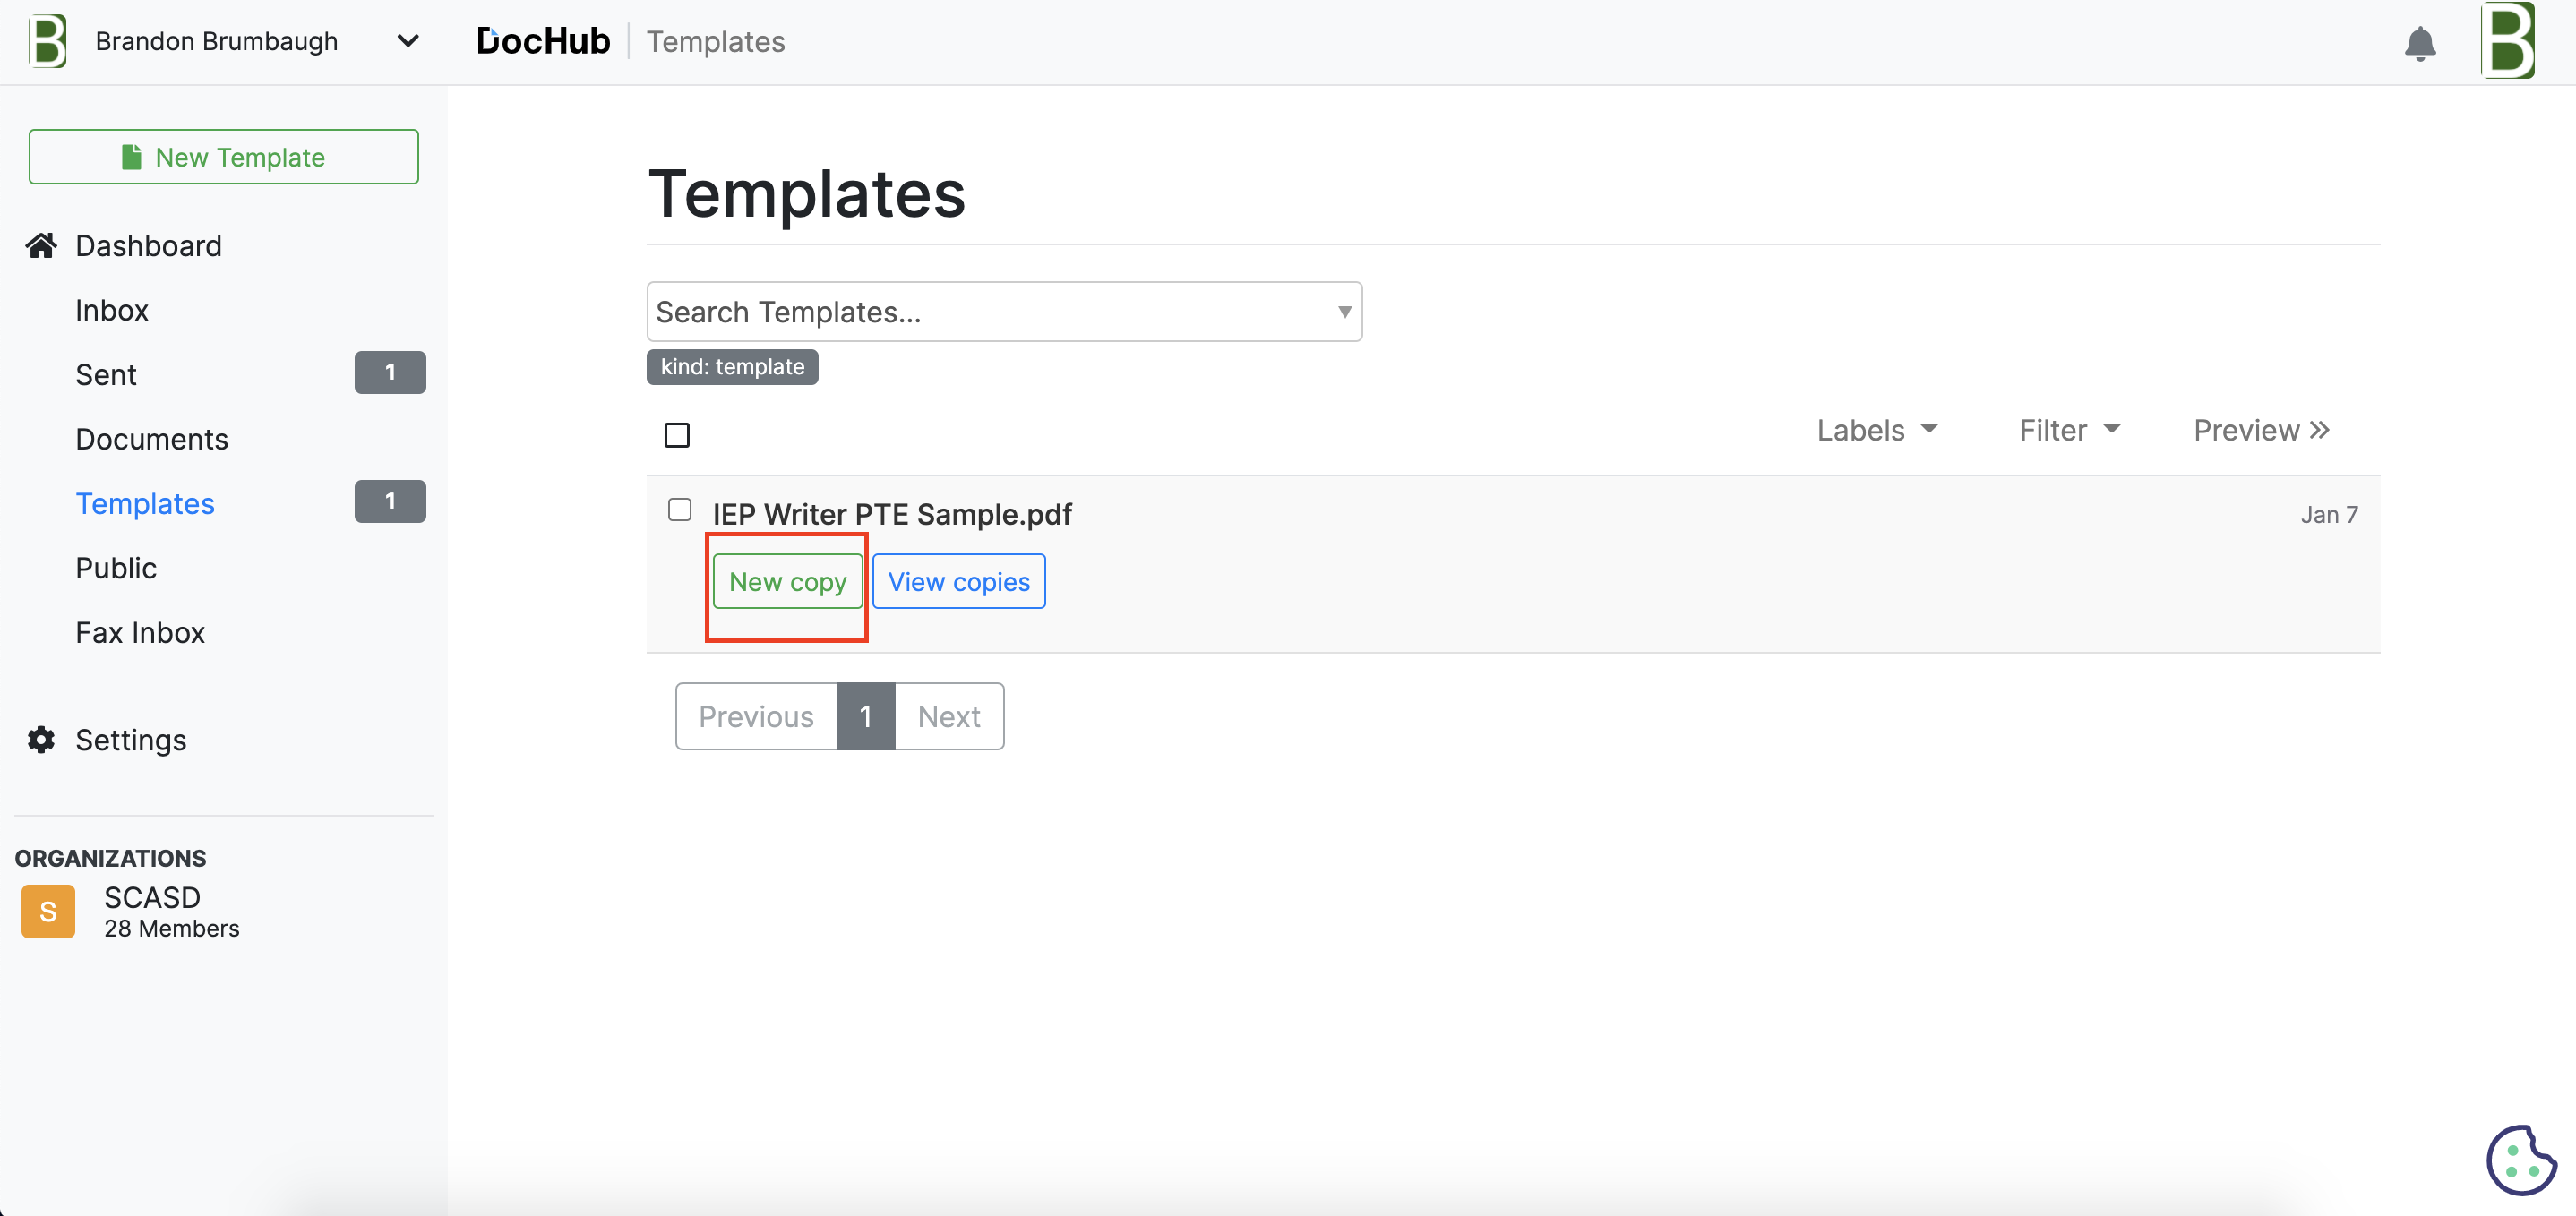
Click Templates.
Beneath the template that you would like to send, click New Copy.
Select Send a copy as a sign request.

Beneath Signers, enter the email address of the individual you will be sending this document to. If you require signatures/initials from more than one individual, select Add Signer.
There will be two options beneath the client that you can toggle on and off.
Can annotate: Signer can use annotation tools such as inserting images, text, highlighting, etc.
Receives final: Signer will receive final copy of document.
Under Permissions, you can add or edit viewers, such as individuals who are not signers but will need to view the document and signatures/initials.
Under Options, this section will allow you to change the document name, change the email subject, enter a personal message in the email, and also turn on Automated Reminders (alerts signer after a specific amount of time that document needs to be signed), turn on Expire After Inactivity, and turn on Only allow hand-drawn signatures.
Click Send Request.
Sending a Single Use Document
Go to your DocHub dashboard.
Select New in the top left corner.
Upload the document that you would like to send to the signer. For more information on how to upload a document, please refer to the Uploading Documents to DocHub article.
Enter the fields into the document. For more information regarding how to input fields into the document, please refer to the Inputting Field Into the Document article.
Click Prepare Sign Request in the upper right corner.

Beneath Signers, enter the email address of the individual you will be sending this document to. If you require signatures/initials from more than one individual, select Add Signer.
There will be two options beneath the client that you can toggle on and off.
Can annotate: Signer can use annotation tools such as inserting images, text, highlighting, etc.
Receives final: Signer will receive final copy of document.
Under Permissions, you can add or edit viewers, such as individuals who are not signers but will need to view the document and signatures/initials.
Under Options, this section will allow you to change the document name, change the email subject, enter a personal message in the email, and also turn on Automated Reminders (alerts signer after a specific amount of time that document needs to be signed) and turn on Expire After Inactivity.
Click Send Request.
If there are any questions or issues please contact IT Services