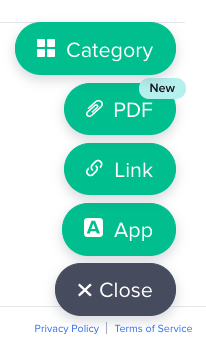
Once you are in your page you can add content (Apps, Links, Categories)
Click on the Add button in the bottom right-hand corner and choose what resource you would like to add
Image RemovedImage Added
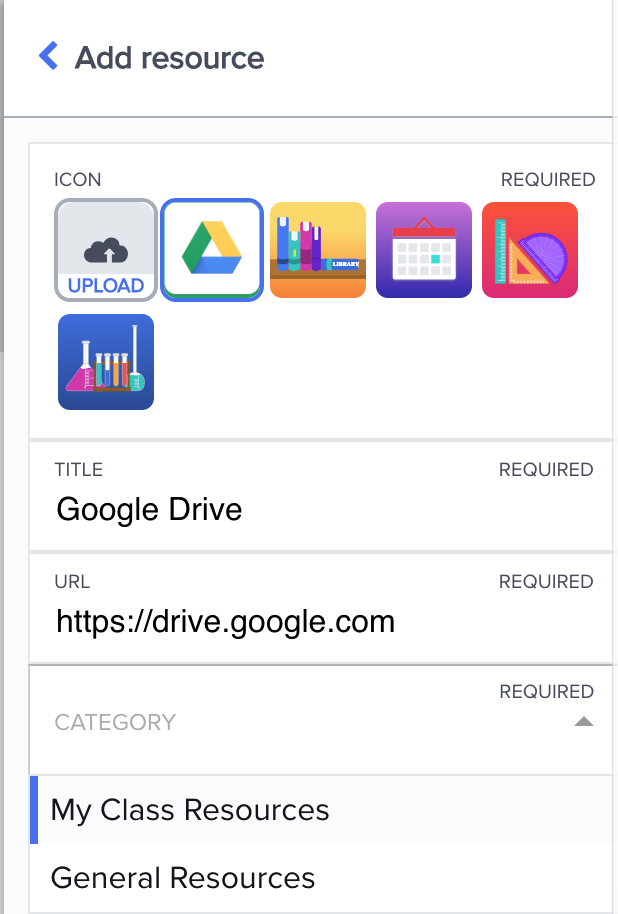
Search for a App or paste a URL into the link field
Choose an icon to represent your link (Any picture can be uploaded to help students locate the resource)
Enter a title to help your students locate the link
Choose a category for your link to appear under
Image RemovedImage Added
Click Add resource
Expand
title
Organizing
To make your links easier to find for your students, you can organize them into different categories. Categories can help you separate your resources by class, topic, or however you see fit. You can reorder and delete categories by using the arrows and trash can icons next to the category name.
Once set up, you can always reorganize your resources and links by clicking and dragging them around. If you'd like to add a category without adding a resource, you can click the drop-down arrow next to Add resources in the right-hand sidebar.
Expand
title
Deleting Links and Resources
You can also delete your resources that your students no longer need to access. To do this, just follow these instructions:
Hover over the resource or link you'd like to remove
Click Edit
In the sidebar that opened, first click the drop-down arrow next to Save
Click Delete resource
Image Modified
Expand
title
Student View
All of your students that are in your sections will be able to see your teacher page! When they log into their Portal, they will be able to see your teacher page as an icon:
Image RemovedImage Added
Once they click on the icon, they'll be presented with your teacher page:
Image RemovedImage Added
...
Tip
If there are any questions or issues please contact IT Services